How to Build an Online Course Website Without Being Technical
You know your subject. You don't know what a DNS record is, and you shouldn't have to.
That gap stops a lot of teachers before they start. Teachers already monetize what they know at real scale.
Teachers Pay Teachers alone counts 7 million educators worldwide, sharing lesson plans and resources. A full video course is a natural next step for plenty of them.
Most stall at the same fork in the road. Pay an agency thousands, or sign up for a platform that takes a cut of every sale, forever.
Neither is necessary anymore.
Building a real, owned course website in 2026 takes fewer technical decisions than it used to. Most of the actual "building" can be handed to someone else. This guide walks through it step by step.
Step 1: Decide what you're actually building
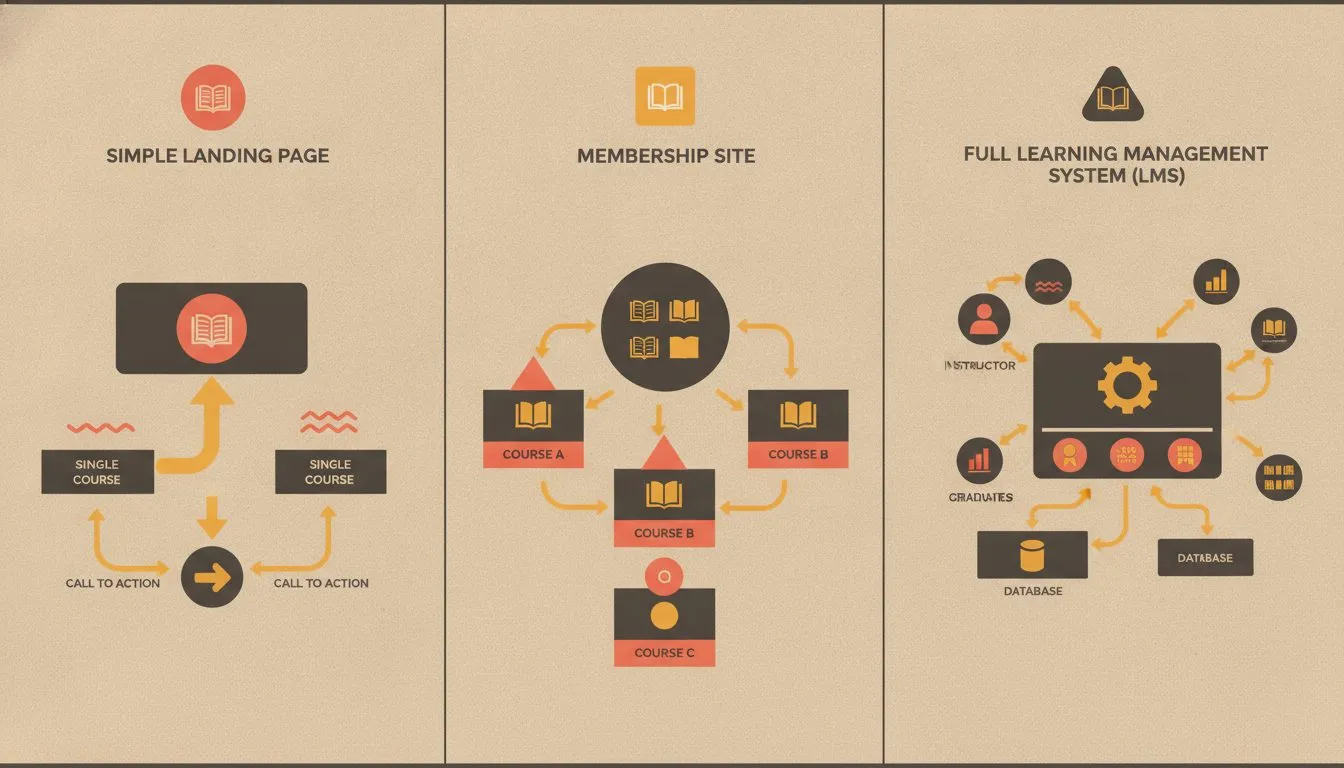
The three main shapes an online course site can take — pick yours before you build anything.
Before touching a domain or a hosting plan, get specific about what students will see. A single self-paced video course needs less than an ongoing membership with live sessions and grading. That distinction shapes almost every decision that follows.
Write down three things. How many courses will you offer at launch?
Do students submit work you need to grade? Will you add more courses later?
That last answer matters more than it seems. A site built for one course can be painful to expand later, if the platform underneath wasn't built to scale. Planning for two or three courses from day one costs nothing extra now.
It also shapes whether you're selling a single purchase or an ongoing subscription. A subscription model needs recurring billing support, not a one-time checkout, worth deciding before you pick a platform.
Price matters here too, and the math is worth doing early. A course priced at $49 needs 41 sales to clear $2,000. Priced at $199 instead, that's just 11 sales for the same result.
Step 2: Get a domain name that's actually yours
A domain is the address students type to find you, yourname.com, not a subdomain tacked onto someone else's platform. It's the one piece of this setup you should never rent.
Most hosts sell a domain for its first year, then raise the price sharply at renewal. A few, Flashcloud included, keep the domain free for as long as you stay. That matters more over three years than it does on day one.
Pick something short, easy to say out loud, and free of hyphens or numbers. A course brand name usually ages better than your own name, since courses tend to outlive any one job title.
Step 3: Choose your foundation, hosting and platform
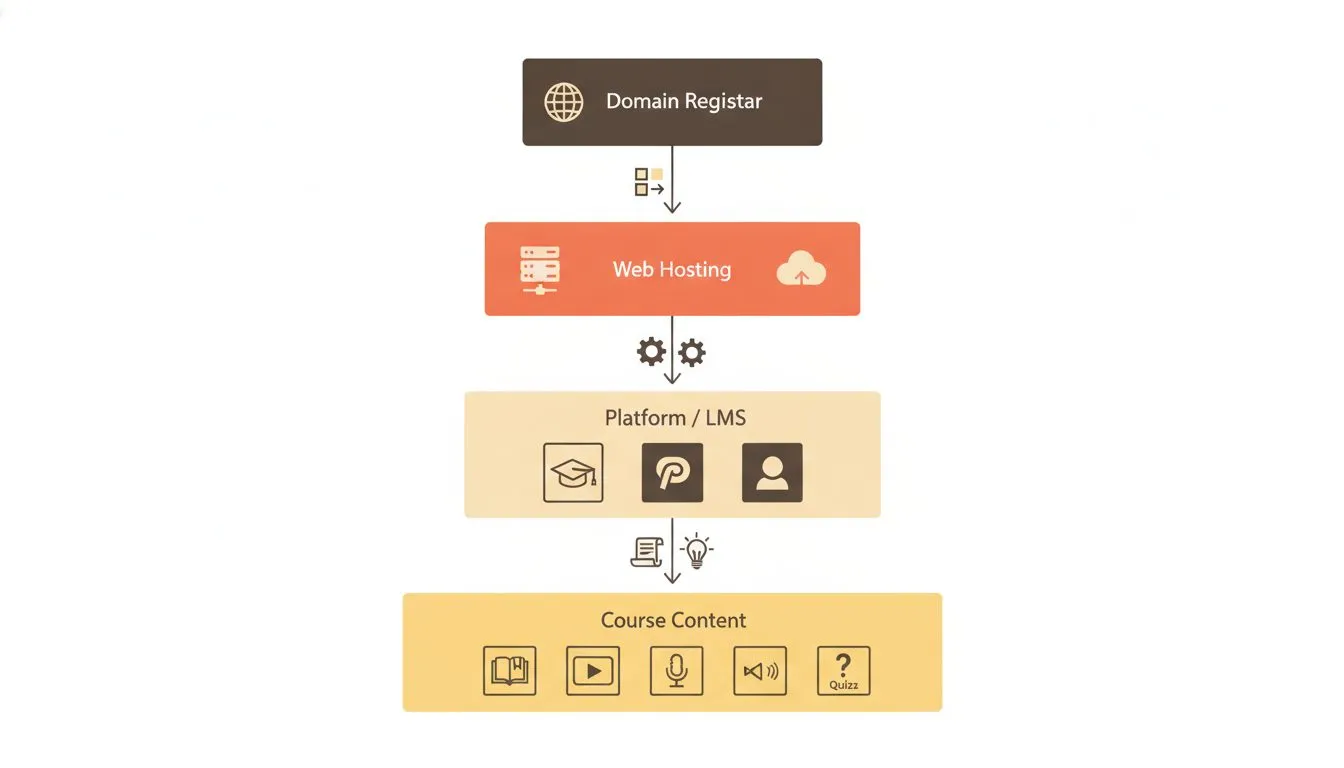
How your domain, host, and platform stack on top of each other — understanding this prevents expensive mistakes.
This is the one decision that needs a little technical thinking, though less than most guides make it sound. Two solid paths exist for a teacher who wants to own the site outright.
The first is WordPress hosting plus a course plugin like LearnDash. It adds quizzes, certificates, and a course builder for $259 a year on the Essentials plan, checked this month. One thing worth knowing before you buy: LearnDash is now part of Liquid Web, and its pricing page redirects there, so the checkout is Liquid Web's rather than LearnDash's own. The second is Moodle, the open-source platform schools use worldwide. It installs through a one-click setup, or our team installs and configures it for you at no charge, which is what most people choose.
WordPress plus a plugin suits a single course or two, sold directly to individual buyers. Moodle suits structured, multi-course programs with real grading, since that's what it was built for from the start.
Not sure which one you need yet? A simple rule helps: pick WordPress plus a plugin for one course. Pick Moodle if you're already picturing multiple courses and a gradebook.
Whichever you pick, video-heavy course content puts more strain on a server than a simple blog does. Look for NVMe storage and unmetered bandwidth as standard, not an add-on you pay extra for later. Our Moodle hosting guide compares options built for exactly this load, and the requirements guide covers sizing a plan against real course content.
A host that configures the technical pieces for you saves real time later. Setup help, a one-click installer, and support that's used the platform before are worth more than a slightly lower price.
Step 4: Get the site itself built (without a page builder)
Most non-technical guides stop at "pick a template and drag some boxes around." That's still real work, and it shows if design isn't your thing.
Some hosts skip that step entirely. Flashcloud builds it by hand, for free, on any hosting plan.
A real designer does the work, not a template or an AI generator. You describe what you teach, and get back a working homepage with your own colors and a contact form.
That's the fastest route to a professional-looking site if design isn't where you want to spend your time. One free revision is usually included too, so a first draft that misses the mark isn't the final word.
It's less of a fit if you already have firm design opinions and want full creative control yourself. In that case, a template you customize by hand may suit you better.
Step 5: Set up your course content and grading
With the site live, load in your actual material, video lessons, readings, quizzes, and anything you'll grade. This is where WordPress and Moodle genuinely diverge in how much work it takes.
LearnDash gives you a drag-and-drop course builder inside WordPress, plus quiz and certificate tools in its $259-a-year Essentials plan. Subscriptions, memberships and drip content are included at that tier too. The gradebook is not: that starts on Pro. Moodle's course editor is closer to what a university uses, with more grading depth built in from the start.
Organize lessons into modules before you upload anything. A course that's one long list of videos is harder to navigate than one broken into clear sections.
Add captions to video lessons where you can. Captions help students who are deaf or hard of hearing, and anyone watching without sound. The W3C's own accessibility guidelines cover this in more depth if your course serves a school.
Neither platform needs code for any of this. Both need you to organize your material into lessons before uploading, that's teaching work, not technical work.
How much video storage a course actually needs
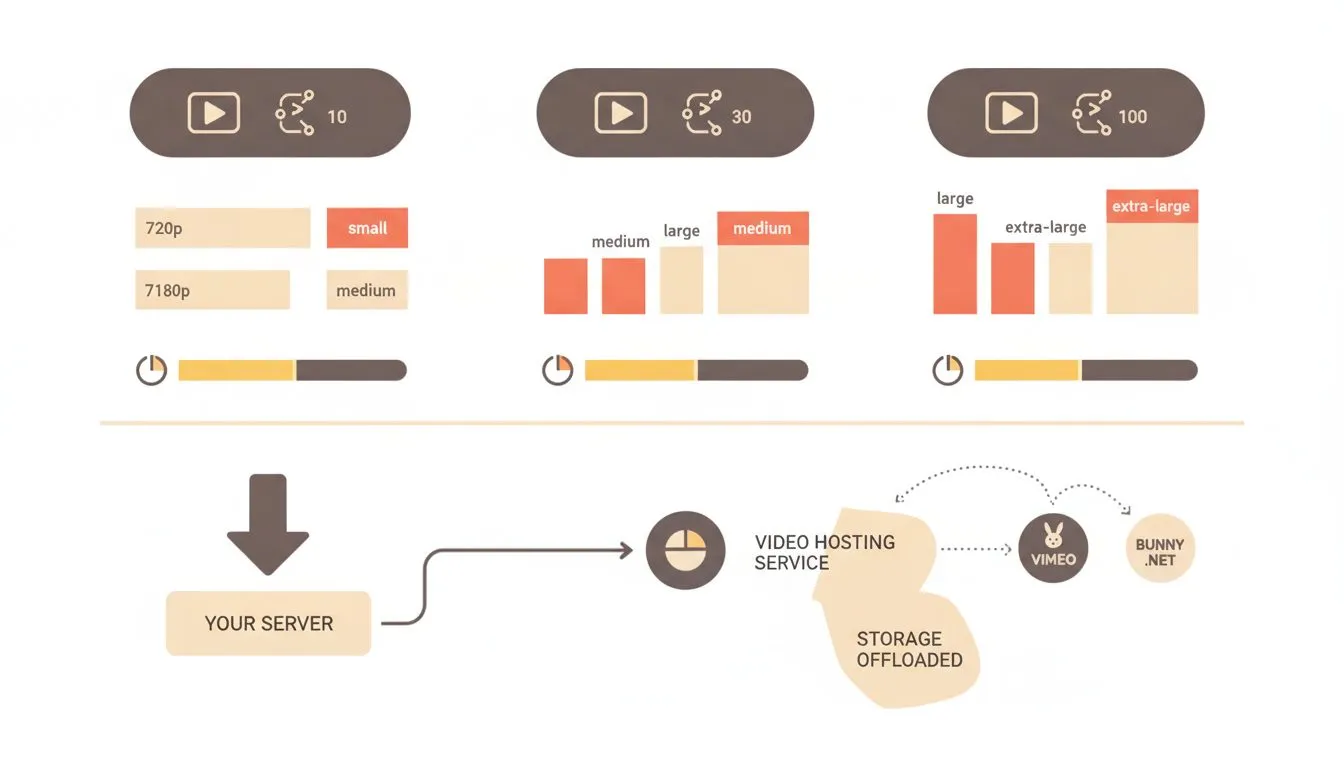
How much storage a course actually needs, worked out from real video lengths
Storage sounds like a technical detail, but it's really just arithmetic. A rough estimate saves you from guessing at the wrong plan size.
A talking-head lesson, recorded and compressed normally, runs about 500MB per hour of footage. A course with 5 hours of total video comes to roughly 2.5GB.
Ten courses built that way would use about 25GB, Flashcloud's Start plan ceiling, almost exactly. Grow's 50GB doubles that room, enough for twenty similar courses, or ten with twice the video length.
Slide-based lessons with less motion compress smaller than filmed video. A course built mostly from screen recordings and slides often uses noticeably less storage than the estimate above. Either way, checking your host's storage limit before uploading beats finding out mid-upload.
Step 6: Connect a way to get paid
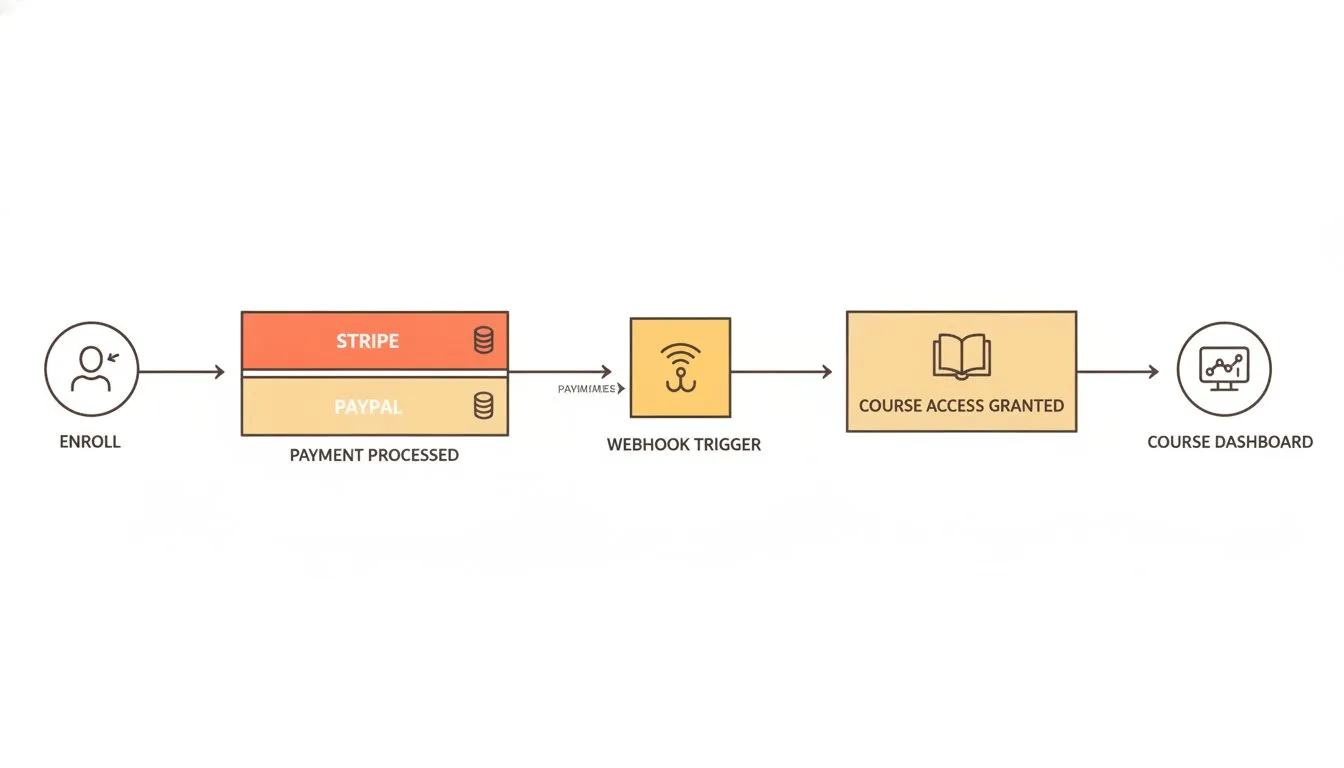
What actually happens in the seconds between a student paying and getting access to your course.
This is the step every self-hosted route needs that a hosted platform includes automatically. You'll need a payment processor connected before anyone can enroll and pay.
LearnDash includes built-in Stripe and PayPal integration on every plan, so this is mostly clicking connect and entering your account details. Moodle is more limited here: it ships with PayPal as the only built-in gateway and needs a separate plugin for Stripe. The community Stripe plugin is free and actively maintained, but installing a plugin needs write access to the server, so it is a step rather than a setting.
Whichever processor you use, expect the standard card-processing rate of roughly 2.9% plus 30 cents a transaction. That fee exists everywhere, including on hosted platforms. The real difference is whether a platform adds its own cut on top of it.
Whichever processor you use, you'll also need an SSL certificate so payments are encrypted. Every reputable host includes one free.
Planning payment plans instead of one upfront price? Check that your plugin supports recurring payments before launch. LearnDash and most modern payment gateways support this, but it's worth confirming first.
Step 7: Test it like a student would
Before telling anyone about your course, go through it as if you were a stranger. Register with a test account, and watch every video lesson actually load.
Check that grading and certificates trigger the way you expect. A quiz that doesn't save a score, or a certificate that never generates, is worth catching early.
Test on a phone too, not just your laptop. A meaningful share of students start a lesson on mobile, whatever platform you built on. A broken mobile layout costs you students silently.
Run through the checkout with a real card if your processor allows a refund afterward. A payment form that looks fine but silently fails at the last step is worse than one that's obviously broken.
Step 8: Launch, then keep it running
Once testing is clean, tell people. Announce it to your existing audience first, an email list, past students, colleagues, before spending money on ads.
After launch, the main ongoing task is backups and updates, not new development. A host with daily backups and a 30-day restore window means a bad plugin update never costs you real work.
If you already have a site elsewhere and are moving it here, ask specifically whether migration is free. A good migration moves your content without you touching a single file yourself.
Keep an eye on renewal pricing too, wherever you host. A domain or hosting plan that jumps sharply at renewal can quietly erase whatever you saved by building it yourself.
Getting found once you're live
A finished course website still needs to be findable, which is a separate skill from building it. A few basic steps cover most of what matters early on.
Give every page a clear title and a short description, the text that shows up in a search result. Most WordPress and Moodle setups generate a basic sitemap automatically, which helps search engines find your pages faster.
Link your pages to each other where it makes sense. A homepage that links to your course, and a course that links to a free sample, both help. That structure alone does more for a small site than most paid SEO tools.
None of this needs to be perfect before launch. It's easier to improve a page students are already finding than to perfect one nobody has seen yet. A few working pages beat a perfect plan that never ships.
Mistakes that undo an otherwise good setup
A few habits trip up non-technical teachers even after the site itself is built correctly. None of them are hard to avoid once you know to look for them.
Skipping backups is the most common one. A single bad plugin update can take a course offline for hours. A host without automatic daily backups turns that into a real emergency instead of a quick restore.
Ignoring mobile testing is the second. A course that looks great on a widescreen laptop can be unusable on a phone. Most students will open at least one lesson from theirs.
The third is launching without a privacy policy or terms page. If you're collecting payment and student data, a basic policy page protects you and reassures a hesitant buyer. Most course plugins include a simple template to start from.
The fourth is leaving students with no way to ask a question. A simple contact form beats silence, since a stuck student usually unsubscribes instead of writing in.
What this actually costs, worked out
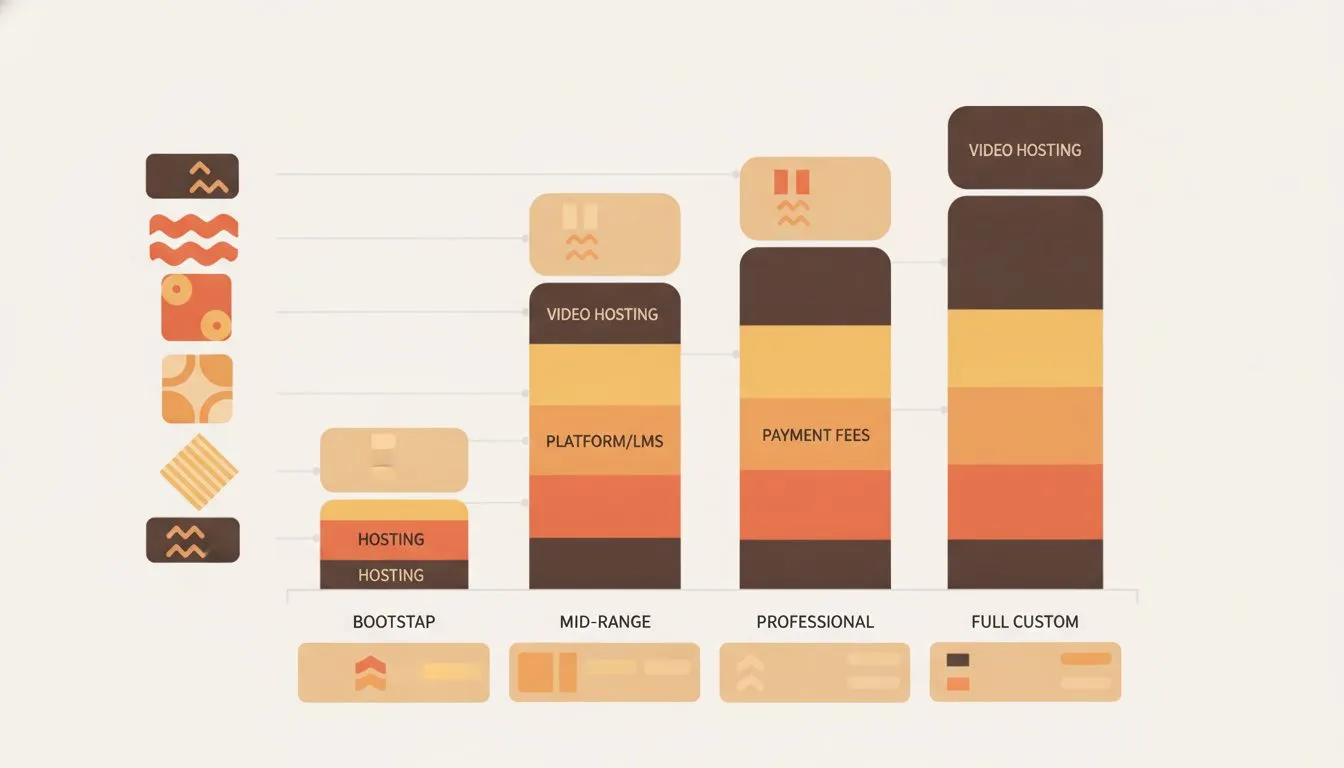
What building and running a course site genuinely costs across four realistic budgets.
Here's a rough monthly breakdown for the WordPress-plus-LearnDash route, hosted on Flashcloud's Start plan. The numbers below are exact math, not a rounded guess.
Cost item | Year one | After renewal |
|---|---|---|
Flashcloud Start hosting | $2.79/mo | $9.99/mo |
Domain | $0 (free for life) | $0 |
LearnDash Essentials ($259/yr) | $21.58/mo | $21.58/mo |
Total before payment processing | $24.37/mo | $31.57/mo |
LearnDash publishes no refund period on its pricing page; the only figure visible is a 7-day guarantee badge in the Liquid Web cart. Worth knowing before a year's licence.
That total leaves out payment processing, since it's a percentage of sales, not a flat cost. It also leaves out any platform revenue share, because there isn't one here. The only fee on any sale is the card processor's own cut.
Add it up over three years, and the gap still favors owning the site outright. Year one runs about $292 total. Renewal years run about $379 each, for roughly $1,050 across three years.
That's with zero revenue share taken from a single sale, the whole time.
Many all-in-one hosted course platforms charge a comparable monthly fee, a percentage of every sale, or both together. We compared seven of them in the best website companies for teachers running an online course, with the fee on every tier. Whether that's the better deal depends on how much you expect to sell. Weigh that against how much setup time you'd rather trade for a ready-made checkout.
The bottom line
Building a course website without being technical isn't about avoiding every decision. It's about picking a host that absorbs the parts that actually require technical knowledge. That's the whole shift worth making.
Get the domain right, since it's the one thing you'll live with for years. Pick WordPress or Moodle based on how structured your course needs to be, not on which name sounds more familiar.
If designing a homepage is what's actually holding you back, that's the specific problem Flashcloud's free build solves. Describe what you teach, and a real person builds the site, leaving you time for the course itself.

Nickola Naous is the co-founder of Flashcloud and the technical half of the team. He's spent nearly two decades building and running web hosting infrastructure, and co-founded and sold a hosting company before starting Flashcloud. He writes about performance, servers, security, and how AI is reshaping the technology behind a fast, reliable website.
Connect on LinkedIn